Skyscraper Tutorial
In my game environment, I intend to make a few skyscrapers that will be used as part of the environment. The following log will show the development of the main skyscraper where the main character will begin.
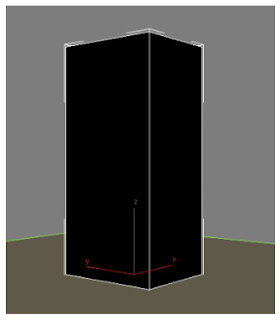
I firstly started off by making a box:
I then altered the parameters on the right hand side to the following:
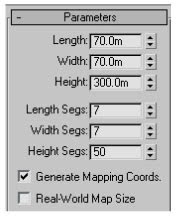
Inputting those values will create the following on screen:
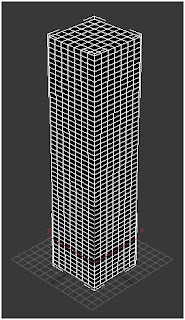
The main reason why there are so many segments is that the skyscraper’s windows will be easier to model, as each face can be set a material ID and using a multi/sub object material will allow me to set different materials to different material IDs.
The next step was to taper the building to give it a curved effect. I did this as I wanted the building to look fairly modern. I did this by selecting taper from the modifier list. The values I used were a taper amount of -0.45 and with a curve of -0.5. This will produce the following result:
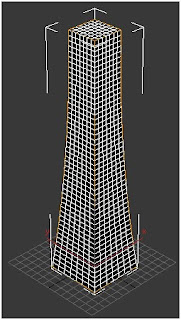
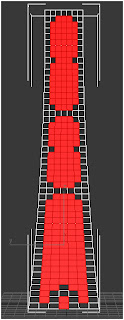

The picture on the left is the front of the building with the door at the bottom. The picture on the right is what the remaining three sides will look like. I then set the material ID to material ID 2 as these would become the material for the window frames.
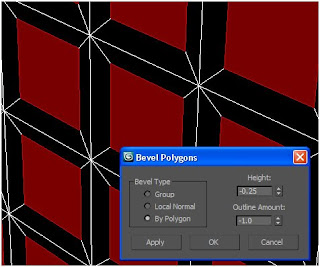
The next step was to bevel the windows. I used a height of -0.25, so the windows would bevel backwards, and an outline value of -1.0 so the outline would appear around the window and not over the window, making the windows bigger than they are.
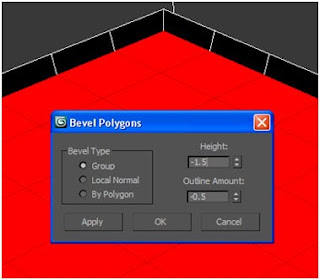
After doing this, I decided to bevel the top of the building, as this where the main character will be standing at the start of the game. I did this by bevelling the top of the building with a height of -1.5 and an outline of -0.5. Doing this created the picture on the left. I also gave this area a material ID of 4.
The next step was creating the materials for the building. Firstly I changed the material from standard to multi/sub object. Doing this allowed me to alter different material IDs that I set earlier, making it easier to apply the materials. I opened the first material and simply changed the reflection map and added a raytrace effect. I also changed the glossiness to a falloff value.
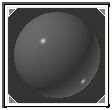
Material 2 was made with a falloff effect in the glossiness map. This would allow the window frames to look fairly glossy in respect to the windows.
Material 3 was made with a raytrace effect in the refraction map. I then changed the background from environment settings to a light blue colour. This makes a mirror effect for the windows. I also changed the opacity from 100 to 30 so that the building wouldn’t reflect everything by 100%, as this would create a constant reflection between the other skyscraper I previously made.


No comments:
Post a Comment