Skyscraper Tutorial
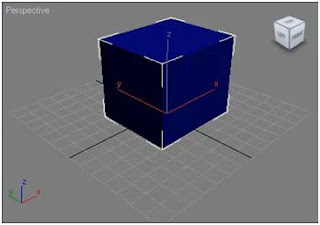
In order to create a simple skyscraper for my environment, I firstly made a box:
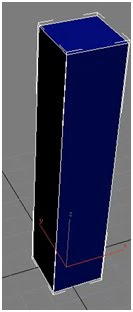
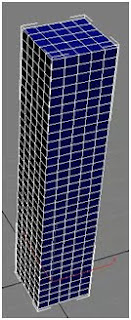
Afterwards I then added some segments as this would help me create the windows. The segments were 5 for length and width and 33 for height. The reason it was 33 is so that each segment was 3 x 5. This can be shown in the picture above.
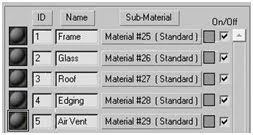
The next step was creating each material. All of them are shown below:
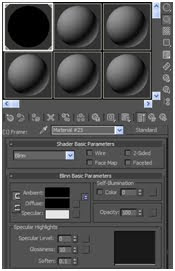
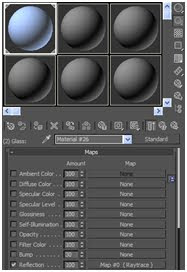
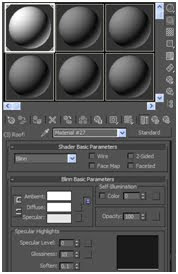
The first one is the frame of the building. I went for a black outline here in order to accentuate the windows on the building. The second is the window colour. I added a raytrace map here in order to gain a reflection effect from the window, which can be fully seen in my environment. The third material is a lighter grey colour in order to portray the rooftop.
The next step was making the windows. I did this by simply selecting all the faces on the building, apart from 6 near the bottom, and using the inset tool. My parameters were insetting by polygon and at a value of 0.25. This enabled me to produce the following:
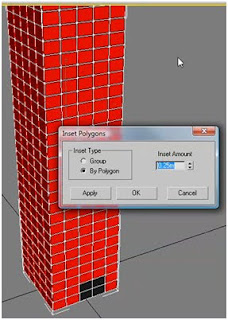
After achieving this, I extruded the faces in order for it to look as if there were windows on the skyscraper. I extruded then at a value of -0.1 in order for them to extrude outwards instead of 0.1m inwards.
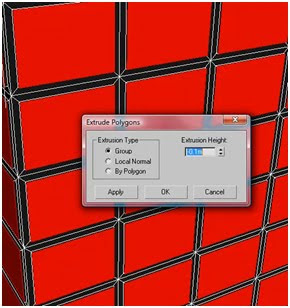
As the polygons for the windows were still selected, I changed their material ID from 1 to 2. This allowed the window texture to be applied to only these polygons. This then created the following:
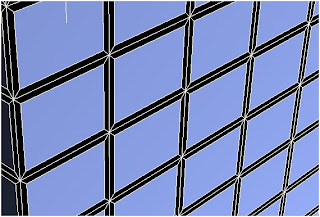
I then set about in creating the roof. To do this I simply selected the rooftop and changed the material ID from 1 to 3 in order for the polygons to have the grey texture on it.


